-
STARTUP GUIDE FIXING PLUG
Read moreImpact plug (8x60mm) for start-up guide metallic fixing. Used on brick, concrete and other solid or perforated structural materials.
-
STARTUP GUIDE JOINT PIECE
Read morePlastic profiles (3cm)
for joining the ends of two consecutive start up metallic guides -
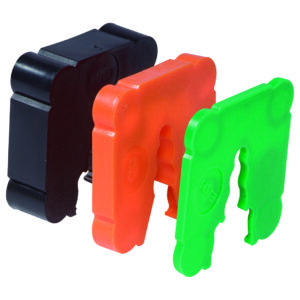
STARTUP GUIDE SPACERS
Read morePlastic profiles for filling gaps between the substrate
and the metallic startup guide for masonry straightening. Can be located by simple clipping on the plug; individual parts may be combined
to generate increased thickness. -
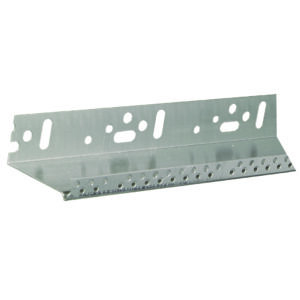
STARTUP METALLIC GUIDE
Read moreAluminum metallic guide for VITEXTHERM
external thermal insulation system alignment
-
-
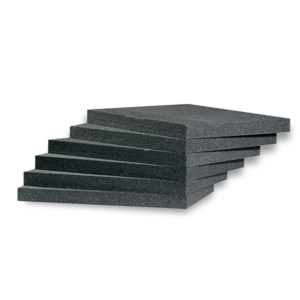
VITEXTHERM EPS 100 GRAPHITE PLUS
Read moreGraphite based expanded polystyrene, CE certified suitable for external thermal insulation
-
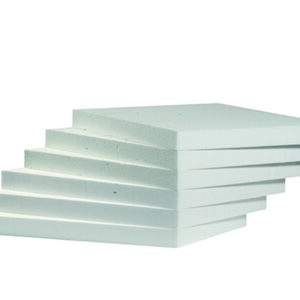
VITEXTHERM EPS 200 WHITE
Read moreExpanded polystyrene, CE certified, suitable for external thermal insulation. Mainly applied as high strength zone.
-
VITEXTHERM EPS 80 GRAPHITE
Read moreGraphite based expanded polystyrene, CE certified suitable for building outer heat insulation
-
VITEXTHERM EPS 80 WHITE
Read moreExpanded polystyrene, CE certified suitable for external thermal insulation
-
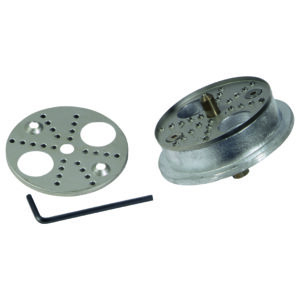
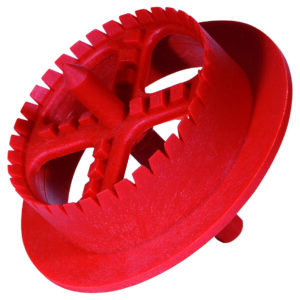
METALLIC MILLING CUTTER
Read moreMetallic milling tool to create recesses on insulating panels for placing mechanical strength anchors
-
PLASTIC MILLING CUTTER
Read morePlastic milling tool to create recesses on insulating panels for placing mechanical strength anchors
-
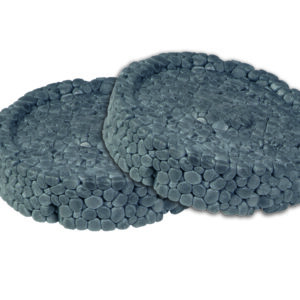
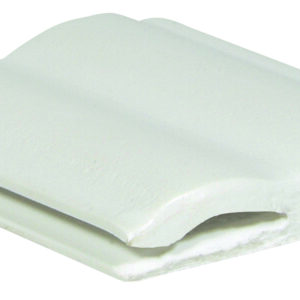
VITEXTHERM EPS GRAPHITE CAPS, �65
Read moreRound section caps from graphite-based expanded polystyrene to cover fixing plugs
-
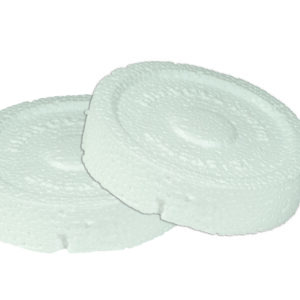
VITEXTHERM EPS WHITE CAPS, �65
Read moreRound section caps from expanded polystyrene to cover fixing plugs
-
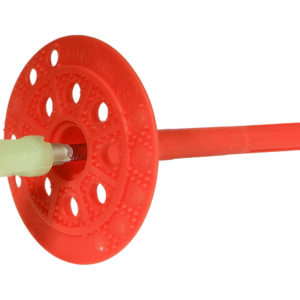
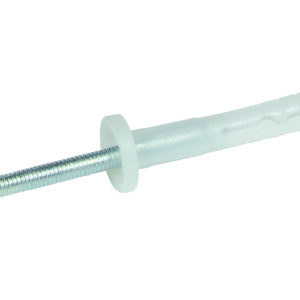
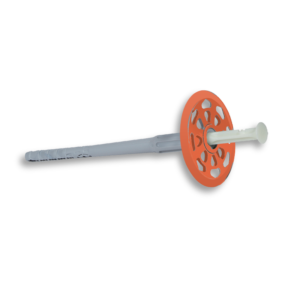
VITEXTHERM MT
Read moreImpact driven metallic anchor for brick, concrete and other solid & perforated building materials with reinforced plastic pin for surface mounting of the insulating material. ETAG certified. Screw diameter: 8mm, washer diameter: 60mm, Minimum anchoring depth: 25mm.
-
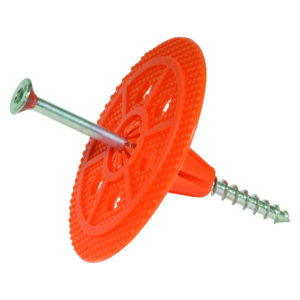
VITEXTHERM PL
Read moreImpact driven anchor for brick, concrete and other solid & perforated building materials with reinforced plastic pin for surface mounting of the insulating material. ETAG certified. Screw diameter: 8mm, washer diameter: 60mm, Minimum anchoring depth: 35mm.
-
VITEXTHERM THREAD
Read moreThreaded anhcor with galvanized screw for surface mounting of the insulating material. Applications: Wood, ΟSB, fiber board or cement board. Washer diameter: 60mm, Minimum anchoring depth: 25mm.
-
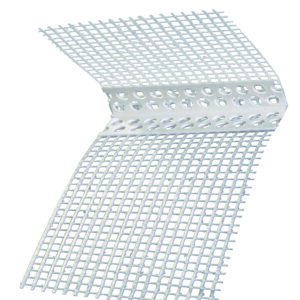
DIAGONAL MESH TO REINFORCE STRUCTURAL OPENINGS
Read moreTrapezoid section alkali resistant mesh to reinforce corners of structural openings
-
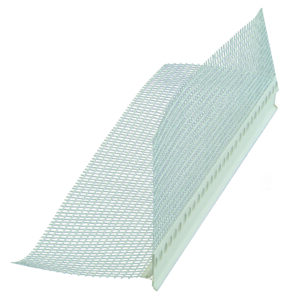
DRIPNOSE BEAD PVC
Read morePVC profile with adhesive alkali resistant glass mesh for formation of dripnose when transiting from vertical to horizontal surfaces, in the VITEXTHERM exterior thermal insulation system
-
EXPANSION JOINT PROFILE (Ε TYPE)
Read morePVC profile with adhesive alkali resistant glass mesh for formation of expansion joint on a straight edge (Ε type)
-
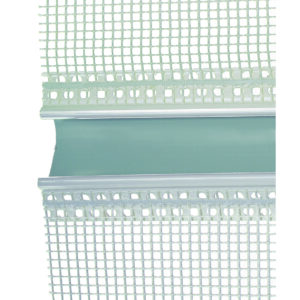
FLEXIBLE PVC CORNER BEAD
Read moreVariable angle PVC corner bead with adhesive alkali resistant fiber mesh to protect non vertical edges (90�) in the VITEXTHERM external thermal insulation system
-
INNER CORNER EXPANSION JOINT PROFILE (V TYPE)
Read morePVC profile with adhesive alkali resistant fiber mesh for formation of expansion joint on inner corners (V type)
-
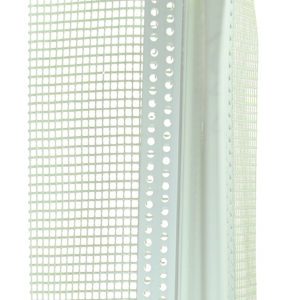
PVC CORNER BEAD WITH MESH
Read morePVC corner bead with adhesive alkali resistant fiber mesh to protect edges in the VITEXTHERM external thermal insulation system
-
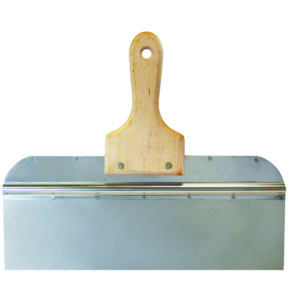
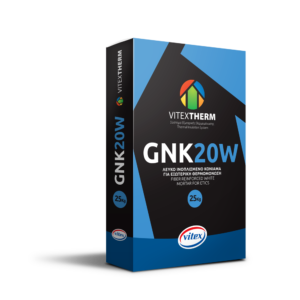
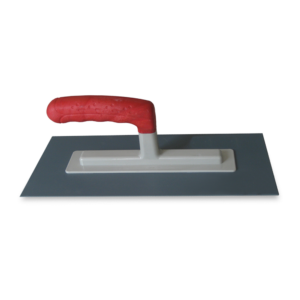
LARGE SURFACE TROWEL
Read moreTrowel for levelling GNK 20W mortar while encasing the 160 gr/m� VITEXTHERM glass mesh
-
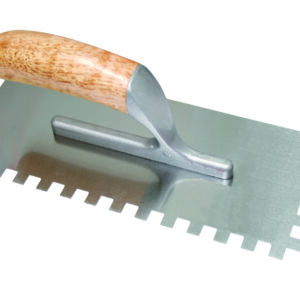
NOTCHED TROWEL
Read moreNotched TROWEL (10mm X 10mm) with wooden handle to apply GNK 10G & GNK 20W mortars on insulating panels
-
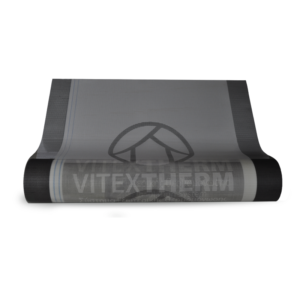
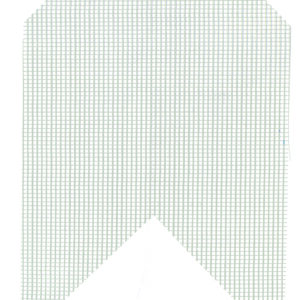
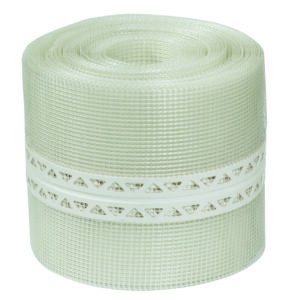
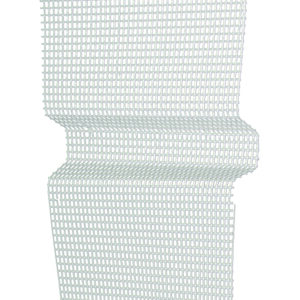
VITEXTHERM FIBER MESH (160 gr/m�)
Read moreAlkali resistant fiber mesh 160 gr/m� to reinforce the fiber reinforced mortar. ETAG certified.
-
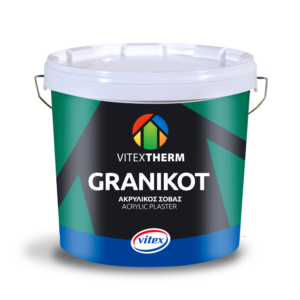
GRANIKOT ACRYLIC
Read moreHigh quality acrylic plaster, ideal for building facades, weather resistant, with excellent protective properties against UV radiance. Highly solid with excellent adhesion and elasticity. Can be coloured through the Vitex Colorfull system
-
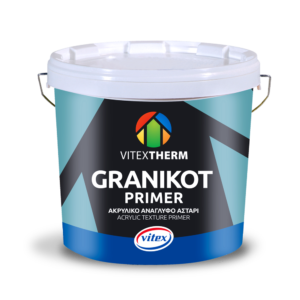
GRANIKOT PRIMER
Read moreWhite acrylic textre primer, ideal for interior and exterior surfaces from plaster, cement and surfaces painted with water based paints (plastic, acrylic etc.) It improves the appearance, coverage, adhesion and resistance of Acrylic and SIlicone plaster on smooth and uneven surfaces. Can be coloured through the Vitex Colorfull system
-
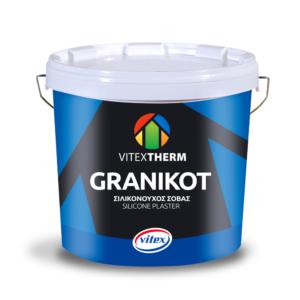
GRANIKOT SILICONE
Read moreHigh quality silicon based plaster with water repellent properties, resistant to weather conditions, water repellent with high transpiration to water vapour. Therefore, it protects surfaces against mould and fungi. It is highly resistant to UV radiance and temperature. Ideal for areas with high humidity and environmental pollution. Can be coloured through the Vitex Colorfull system
-
PLASTIC TROWEL
Read morePlastic trowel for forming the final texture on GRANIKOT ACRYLIC and GRANIKOT SILICONE
-
-

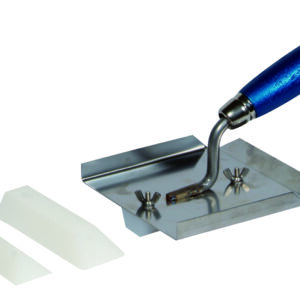
RECESS MOUNTING TOOL
Read moreTool for applying coatings in recesses, in the VITEXTHERM external thermal insulation system
-
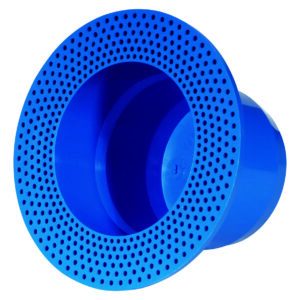
ELECTRIC RECESSED SOCKETS
Read moreTubular polyamide accessory for socket mounting. (socket inner diameter � 65 and outer diameter 105mm )
-

ELECTRIC RECESSED SOCKETS MILLING CUTTER
Read morePlastic milling tool to create recesses on insulating panels for placing the electric recessed sockets
-
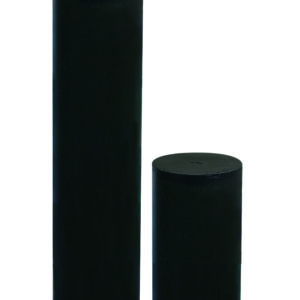
HEAVY WEIGHT CYLINDER
Read morePolyethylene tube for suspension of heavy weights (to 40kg) in the VITEXTHERM external thermal insulation system. (� 90mm, length 540mm)
-
HEAVY WEIGHT MILLING TOOL CYLINDER
Read moreTool used for milling polystyrene for heavy weight cylinder mounting
-
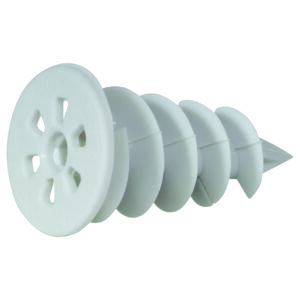
SPIRAL ANCHOR FOR LIGHT WEIGHT
Read moreSpiral plug for suspension of light weights (up to 5kg) in the VITEXTHERM thermal insulation system